
In the world of real estate photography, we’re often tasked with a mission impossible: making a dim, windowless basement look like a sun-drenched sanctuary. To do that, you have to master the Exposure Triangle, and the most misunderstood corner of that triangle is ISO.
If you’ve ever looked at a photo of a beautiful kitchen and wondered why the shadows look “fuzzy” or “grainy,” you’ve likely encountered an ISO issue. Here’s everything you need to know about ISO and how to use it to sell homes faster.
What Exactly is ISO?
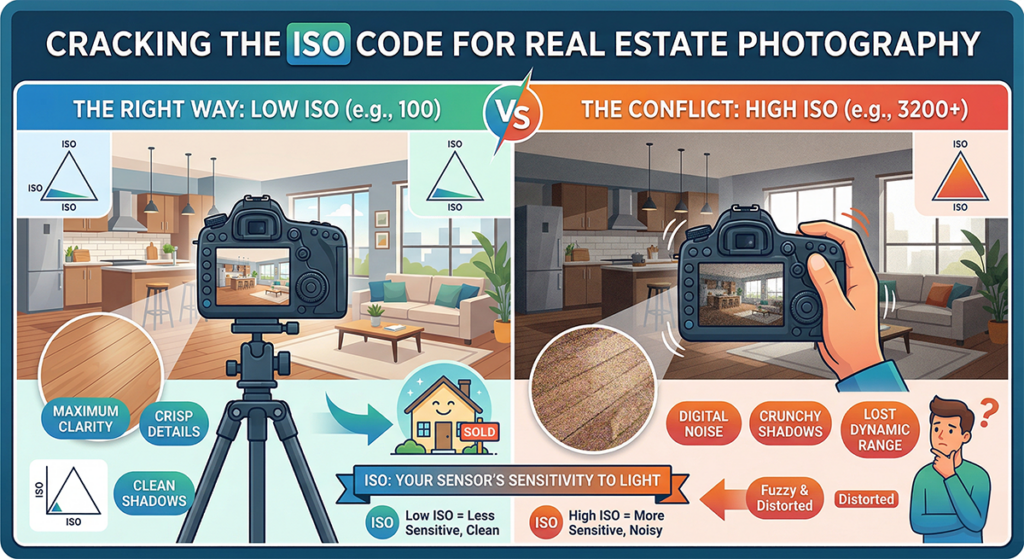
At its simplest, ISO is your camera sensor’s sensitivity to light.
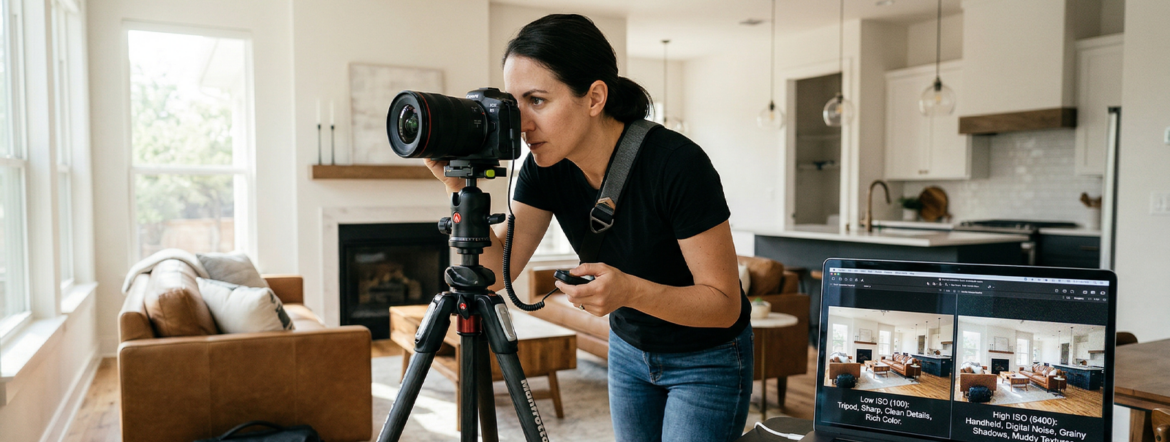
- Low ISO (e.g., 100 or 200): The sensor is less sensitive. You need more light (or a longer shutter speed) to get a bright image, but the result is crisp and clean.
- High ISO (e.g., 3200 or 6400): The sensor is “cranked up.” It can see in the dark, but the trade-off is digital noise: those tiny, colorful dots that make a professional photo look like it was taken on a flip phone from 2005.
The Real Estate Dilemma: Quality vs. Brightness
In real estate, image quality is king. High-end listings require sharp lines, smooth textures, and accurate colors. High ISO settings are the enemy of all three.
When you push your ISO too high to compensate for a dark room, you lose dynamic range, which is the camera’s ability to show detail in both the bright windows and the dark corners simultaneously.
| ISO Setting | Light Sensitivity | Image Quality | Best Use Case |
| 100 – 200 | Low | Maximum Clarity | Bright interiors, exteriors, tripod shots. |
| 400 – 800 | Moderate | Good | Handheld shots in well-lit rooms. |
| 1600+ | High | Grainy/Noisy | Emergency only (or “moody” lifestyle shots). |
The Golden Rule: Keep it Low and Use a Tripod
In almost every other genre of photography (sports, weddings, wildlife), you have to compromise on ISO because your subjects are moving. In real estate, the house isn’t going anywhere.
Because your subject is stationary, you don’t need to rely on high ISO to get a bright shot. Instead:
- Mount your camera on a tripod.
- Set your ISO to 100.
- Use a slower shutter speed.
By letting the shutter stay open longer, you gather all the light you need without sacrificing the “clean” look of the image.
When Should You Actually Raise ISO?
Is there ever a time to go high? Occasionally. If you are shooting “lifestyle” shots (like a close-up of a steaming coffee cup) and you want to shoot handheld to get a specific angle, you might bump your ISO to 400 or 800 to ensure your shutter speed is fast enough to avoid blur.
However, for your wide-angle hero shots, stick to the floor. Keeping your ISO at 100 ensures that when a potential buyer zooms in on those marble countertops, they see stone, not static.
Final Pro Tip: Bracketing
Instead of cranking the ISO to see into dark shadows, use Exposure Bracketing. Take one shot for the windows, one for the room, and one for the shadows, all at ISO 100, and merge them in post-processing. This gives you a bright, professional “HDR” look without a single speck of digital noise.